Important Note: You must have the In-App Credit Card processing and the Patient Payment Portal features enabled and configured in order to use electronic statements. For more information on turning these services on, please visit our Manage In-Application Credit Card Processing and Manage your Patient Payment Portal Help Articles.
Select Customer Setup > Statements.
Use the Practice to Manage Statement Configuration for drop-down menu to select the desired practice.
 If you have multiple practices, these settings must be configured under each participating practice.
Under the Estimate Statements table, click the Edit Templates button.
Use the drop-down menu to select the Statement Type to configure:
Emailed Electronic Statements
- Review or edit your email template fields (email Subject and body).
 Use the Righ-click options to select and add the available variables to the template. The [Payment Link] is a required field and will not save if removed from the template.
 Use the date format drop-down to select your date format.
Under Electronic Statement Template (used for all practices) review or edit your Important Message and your Contact Us fields. This General information will be shown on the payment portal's patient statement view.
- Enter a personalized Message To Patients that will be shown within the bottom portion of their online bill.
- Select whether or not you want to show your phone contact information, email contact information, or both by selecting them and entering the required data.
- Optional: Click Save and Show Demo to view the important message and the contact us fields in the payment portal.
Click the General tab from the side panel to access general settings that apply to all statements.
Select the credit cards accepted by this practice.
 Don't accept credit card payments by mail? Make sure all credit card boxes are unchecked.
Show units in charge description: Check this option to show the number of units used on each line item charge. The number of units will be displayed next to the charge description on your patient’s statements.
Use separate address for Pay-To: Check the box and populate the required information to receive payments at a different address than the practice address.
Use separate address for return: Populate the required information to have undelivered statements returned to a different address than the practice address.
Click the Electronic Statement Options tab from the side panel to access Charge Breakdown options:
Summarized details for each charge: Enable this option to send a summary detail of the charges.
Detailed activity listing: Enable this option to send a detailed listing of charges.
Show Facility/Office: Adds the facility name and address on the statement.
Send Email Replies to: Select if you want to receive email replies or not and what email address you want to receive them in.
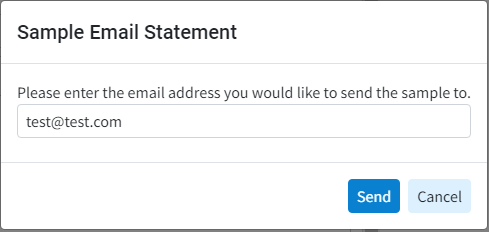
 Click Send Sample and enter a test email to receive a sample of your electronic Statement.
SMS Text Electronic Statements
- Review or edit your text message template.
 Use the Righ-click options to select and add the available variables to the template. The [Payment Link] is a required field and will not save if removed from the template.
 Use the date format drop-down to select your date format.
Under Electronic Statement Template (used for all practices) review or edit your Important Message and your Contact Us fields. This General information will be shown on the payment portal's patient statement view.
- Enter a personalized Message To Patients that will be shown within the bottom portion of their online bill.
- Select whether or not you want to show your phone contact information, email contact information, or both by selecting them and entering the required data.
- Optional: Click Save and Show Demo to view the important message and the contact us fields in the payment portal.
Click the General tab from the side panel to access general settings that apply to all statements.
Select the credit cards accepted by this practice.
 Don't accept credit card payments by mail? Make sure all credit card boxes are unchecked.
Show units in charge description: Check this option to show the number of units used on each line item charge. The number of units will be displayed next to the charge description on your patient’s statements.
Use separate address for Pay-To: Check the box and populate the required information to receive payments at a different address than the practice address.
Use separate address for return: Populate the required information to have undelivered statements returned to a different address than the practice address.
Click the Electronic Statement Options tab from the side panel to access Charge Breakdown options:
Summarized details for each charge: Enable this option to send a summary detail of the charges.
Detailed activity listing: Enable this option to send a detailed listing of charges.
Show Facility/Office: Adds the facility name and address on the statement.
Send Email Replies to: Select if you want to receive email replies or not and what email address you want to receive them in.
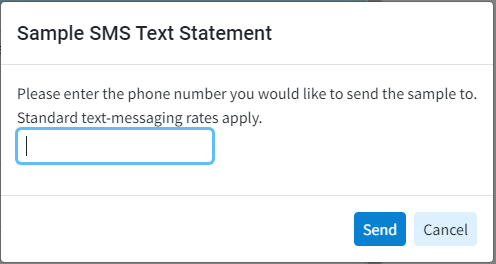
 Click Send Sample and enter a test phone number to receive a sample of your electronic Statement.
- Review or edit your text message template.
- Click Save.
 Want to revert back to the default message? Click Reset to Default.
- Review or edit your email template fields (email Subject and body).
 If you have multiple practices, these settings must be configured under each participating practice.
 Use the Righ-click options to select and add the available variables to the template. The [Payment Link] is a required field and will not save if removed from the template.
