CollaborateMD (CMD) requires all computers running the CMD Interface Bridge (CIB) Agent software be updated to use Java 8 or higher. CMD's web services will only accept connections using TLS 1.1 or TLS 1.2 with modern and secure cipher suites to ensure communications to or from are done in the most secure fashion. Regulatory compliance dictates that older protocols such as SSL 3.0 and TLS 1.0 are not used in the environment as they are flawed and contain security vulnerabilities. At some point in the future, TLS 1.1 will also be deprecated as there are known security vulnerabilities in this protocol as well.
Prior to installing the CIB Agent, please ensure the inbound (which is for Patient Demographics via the HL7 Admit, Discharge and Transfer (ADT) Message) and outbound (Charge Data via the Detailed Financial Transactions (DFT) Message) directory paths are properly set up on the computer responsible for hosting the CIB Agent. These file directories should be set up by the EMR / EHR Vendor and properly communicated the responsible individual within the business office responsible for the CMD application. The CIB Agent must be configured with at least one (inbound or outbound) queue in order to work correctly.
Step 1: Install the Agent Service
Partner with your Information Technology (IT) Department to ensure you have the proper permissions to install software on your computer.
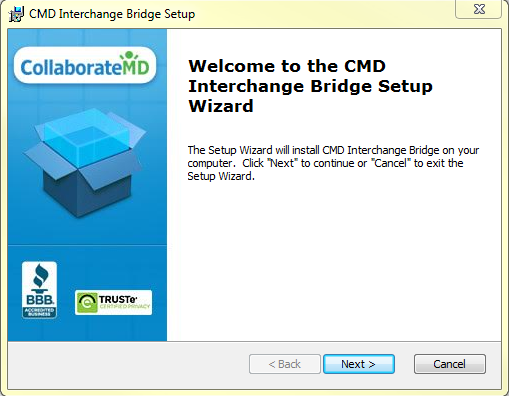
Visit http://www.collaboratemd.com/install_files/interchangeSetup.exe to download the Agent Service.
If prompted, click Run and follow the steps to download the Agent.
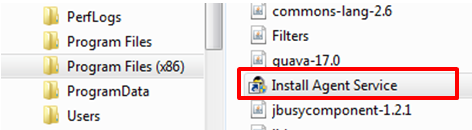
Once the download is complete, go to C:\Program Files (x86)\CMD Interchange Bridge and double-click on Install Agent Service.
- Verify the agent was installed by doing the following:
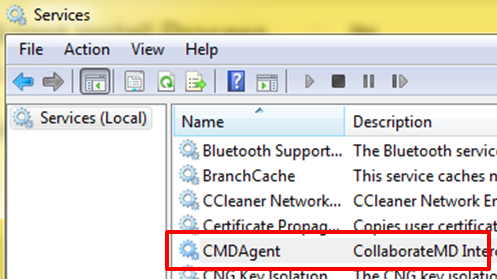
Click on the Start Menu and in the Search field, type services.msc.
Once the Services window opens, scroll down and verify you see “CMDAgent” under the Name column. Once verified, close the window.


Step 2: Set up the Agent Coding (Inbound & Outbound Queues)
On the computer, click the Start menu > All Programs > CMD Interface Bridge < AgentConfig.
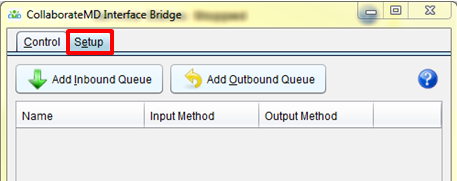
Once the Service Control window appears, click on the Setup tab.
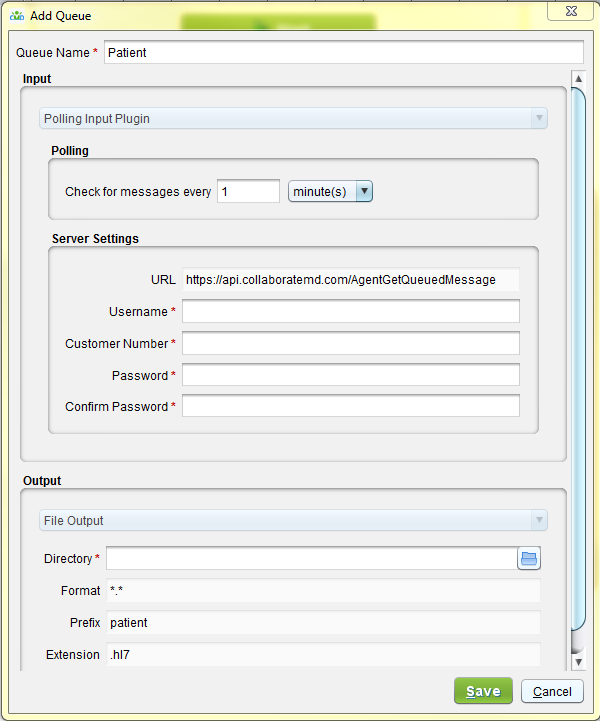
To add the inbound queue or patient demographics (HL7 ADT messages) , click the “Add Inbound Queue” button.
Verify the defaulted selections and configure the required fields:
- Queue Name: Patient
Polling Delay: 1 minute
URL is defaulted to: https://api.collaboratemd.com/AgentGetQueuedMessage.
Username: Type the interface username
Customer Number: Type the CMD customer number
Password: Type the interface password
Confirm Password: Re-Type the interface password entered in the prior field.
Output Directory: Enter the INBOUND directory path to where the patient demographic messages will be stored. (e.g., C:\Program Files (x86)\EMR\CollabMD\Inbound).
Format: *.*
Name Prefix: patient
Name Extension: .hl7
Click Save.
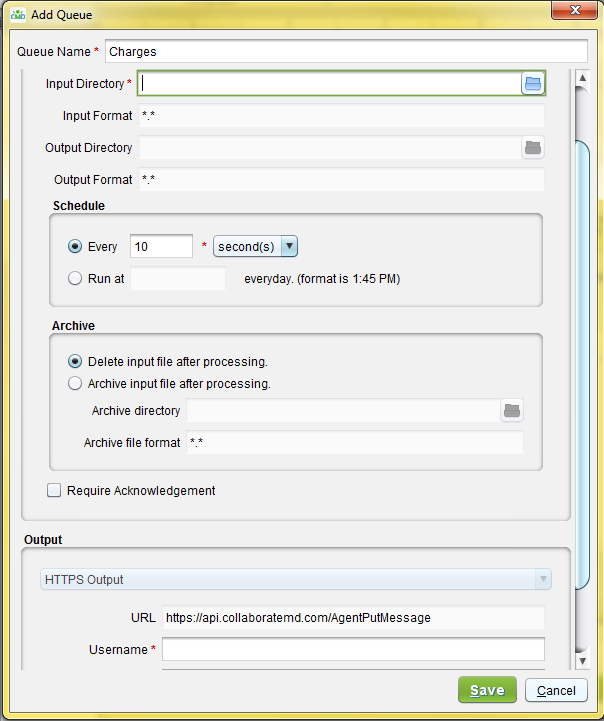
To add the outbound queue for charge data (HL7 DFT messages), click the "Add Outbound Queue" button.
- Verify the defaulted selections and configure the required fields:
Queue Name: Charges
Input Directory: Enter the OUTBOUND directory path to where the charge data messages will be stored. (For Example: C:\Program Files (x86)\EMR\CollabMD\Outbound).
Input Format: *.*
Outbound Directory: Leave blank
Output Format: *.*
Schedule: Every 10 seconds
Delete input file after processing: Leave defaulted (used for issues by development)
Archive input file after processing: Leave blank (used for issue by development)
Archive Directory: Leave empty
Archive File Format: *.*
URL is defaulted to: https://api.collaboratemd.com/AgentPutMessage
Username: Type the interface username
Password: Type the interface password
Confirm Password: Retype the interface password entered in the prior field.
Click Save.
Proceed back to the Control tab.


Step 3: Verifying the CMD Interface Bridge is Properly Configured
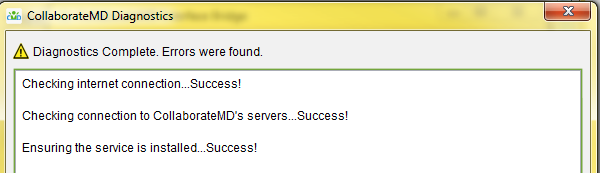
Click the "Run Diagnostics" button to verify:
Internet Connectivity (CMD can properly communicate with the CIB).
The CMD Agent Services is properly installed and running.
Validation of the Charges Queue (if required and properly configured).
Validation of the Patient Queue (if required and properly configured).
Click the "Close" button to return to the Server Control (main) window.
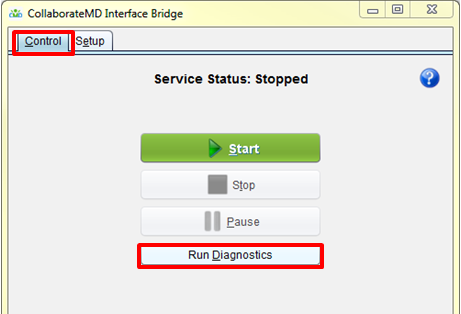
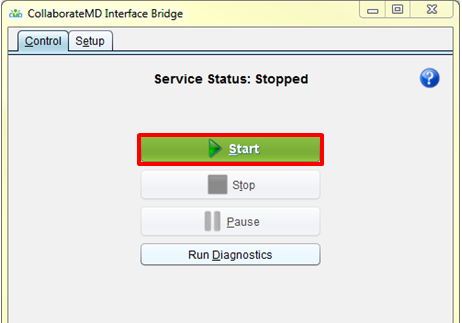
Start, Stop or Pause the CIB Agent:
Click the "Start" button to start the services.
Click the "Stop" button to stop the services.
Click the "Pause" button to pause the services.
- Once the CIB Agent is running, you can test the interface by either saving a patient in CMD and ensure it updates within the EMR/EHR system, or have the client close an encounter within the EMR/EHR and verify the claim is generated within CMD using Interface Tracking.


