Follow the steps below to configure the Automated Final Demand Letter (FDN) Template.
-
Select Customer Setup > Statements.
-
Use the Select a Practice to Manage Statement Configuration for drop-down menu to choose the desired practice.
-
Under the "Automation Statement Generation" table, click Edit Templates.
 To configure the FDN template, it must first be enabled within the Statement Automation Settings. Visit our FDN Options Help Article for more information on enabling automated final demand letter generation.
 -
Use the drop-down menu to select the Final Demand Letter option to configure.
-
Place a check in the Highlight editable fields box to show all of the fields that you are able to edit.
-
Configure your Final Demand Letter Design:
-
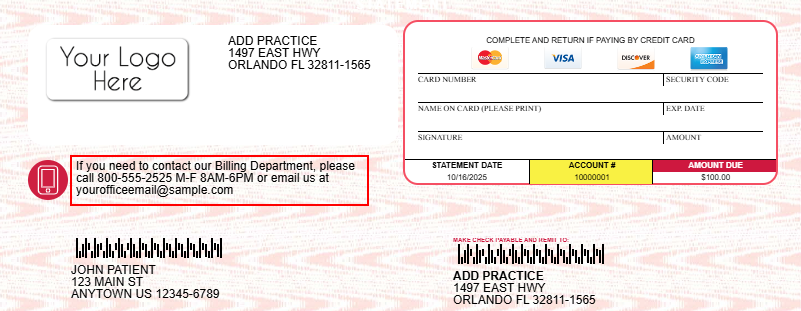
Optional: Add A Logo to your statement.
-
Click the Your Logo Here icon, then click Upload to select a logo from your computer.
-
Adjust the logo.
-
Click Done.
-
-
Enter any applicable phone message in the top-left of the statement, below the address.

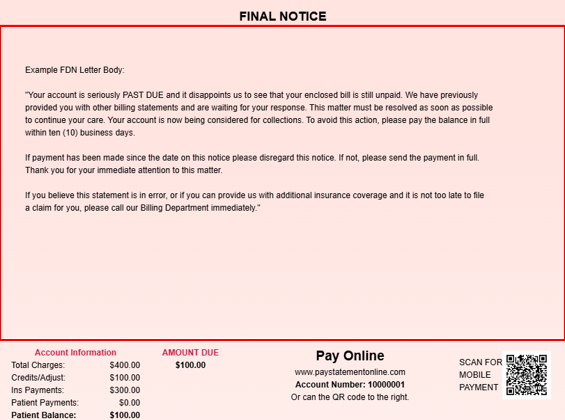
Enter your final demand letter's body within the Final Notice section.

-
Enter any applicable Patient Charge (Important) Message.
 This field is located on the bottom left, below the Account Information box, if the Payment Portal is enabled for the customer. If the Payment Portal is not enabled, it is on the bottom right, to the right of the AMOUNT DUE box.
-
Enter any applicable Insurance Information message under the "Change of address or health insurance information" on page 2 (If no message is entered, the "Insurance Information" header will not print).
-
-
Configure Your General Template Settings:
-
Click the General tab from the side panel to access general settings that apply to automated & user-print statements.
-
Select the credit cards accepted by this practice by checking the box(es).
 Don't accept credit card payments by mail? Make sure all credit card boxes are unchecked.
 -
Show Due Date: Check this option to show the due date of Upon Receipt on the statement.
-
Do not include account credits: Check this box to remove credits on the patient's account from being included in the calculation of the Balance Due on the statement and from being listed within the detailed line items.
Summarize charges: Check this option to group multiple charges associated with one claim. The code and description that appear on the statement are associated with the first charge on the claim.
Show paid charges: Check this option to include all charges, with associated payments and/or adjustments, associated with the patient even if there is no outstanding balance on the charges.
Show units in charge description: Check this option to show the number of units used on each line item charge. The number of units will be displayed next to the charge description on your patient’s statements.
Increment Statements times Printed when sending FDN: Check this box if you wish to have FDNs be counted towards the patient's statement sent count.
Use separate address for Pay-To:
Statement Pay-To address: Check the box and populate the required information to receive payments at a different address than the practice address.
Use separate address for Return:
Statement Return address: Populate the required information to have undelivered statements returned to a different address than the practice address.
Use the Revenue code description for charges on institutional claims: Check this option to print the revenue code description instead of the procedure code description on institutional claims.
-
-
- Click Save.
 To configure the FDN template, it must first be enabled within the Statement Automation Settings. Visit our

