Follow the steps below to add a New Patient.
Select Patient > Patient.
Click the New Patient button.
Enter the Patients Information.

Click on the Profile icon to upload a profile image for this patient.
 Your profile picture should be a minimum of 512x512 pixels, but no larger than 1024x1024 pixels. Any file recognized as an image (e.g., .gif, jpg, .jpeg, .png) can be uploaded.
Enter the Patient's Last & First Name.
Use the Gender drop-down menu to select the patient's gender.
Enter the Date of Birth for this patient.
Enter the SSN for this patient.
If the system finds a duplicate patient with the same patient information (Name, DOB, SSN) a  link will be visible. Click the link to open the existing patient to avoid creating a duplicate record.
Under Patient Info enter the Patient’s Account Information.
Use the Type drop-down menu to select the patient’s account type (e.g., Insurance, workers comp, self-pay, etc.).
 This field is used for reporting purposes.
The Account # field is auto populated by CMD and is unique to this patient record; also known as the Patient MRI (Member Record Identifier) number.
The Reference # field can be populated by you, and can be used for tracking or reporting purposes.
Under Patient Info enter the Patient’s Contact Information. Use the International Address checkbox and select the country to add international addresses.
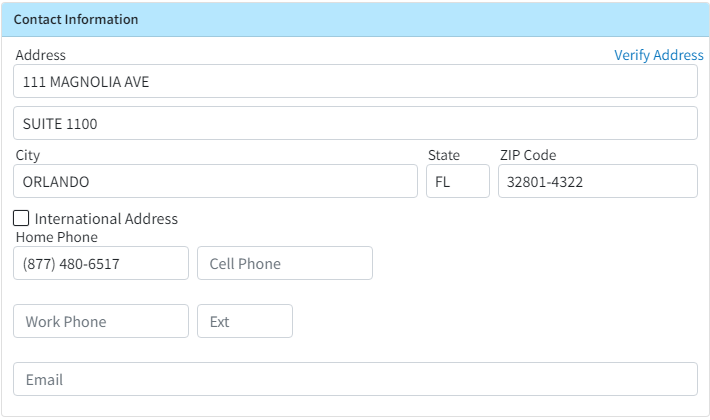
 At this time, the CollaborateMD application supports International Addresses on Patient records or as the Ambulance Pick-Up Location on claims. If an address is international, it will be sent as such on electronic claims and all statements. International addresses will also be sent on user-printed statements (but not automated statements at this time)
Optional: Under Patient Info, the Appointment Reminder options are used in conjunction with the Appointment Reminders feature that can be enabled via the Services section.
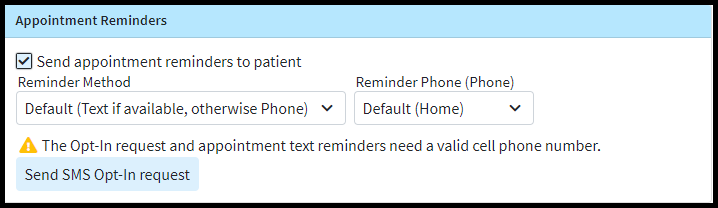
Place a check in the Send appointment reminders to patient to enable appointment reminders for this patient.
Use the Reminder Method drop-down menu to set whether the patient receives texts, emails or phone calls.
Use the Reminder Phone to select which phone to use.
Click the Send SMS Opt-In request button to send an Opt-in message to the patient.
 An indicator will show if the patient has accepted the opt-in message. You can manually re-send the Opt-In message by right-clicking on the warning indicator; otherwise, the Opt-In message will be sent automatically every 60 days until the patient confirms.
 - Check the Patient has consented to receive appointment reminders via email to indicate that the patient has accepted this option.
Optional: Under Patient Info, enter the patient’s Other info.
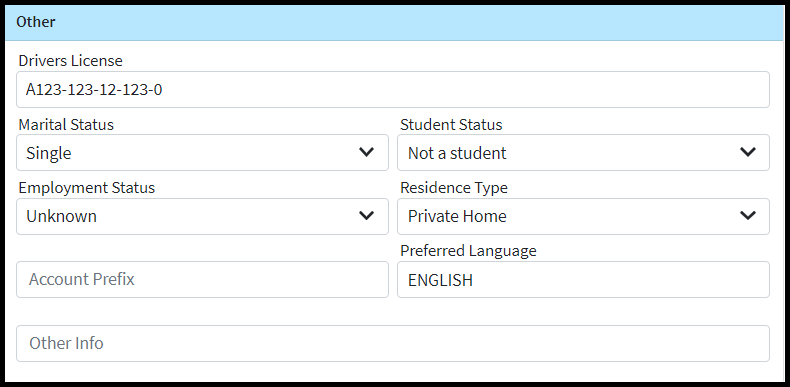
Enter the patient’s Driver's License number.
Use the Marital Status drop-down to select the patient's marital status.
Use the Student Status drop-down to select the patient’s student status.
Use the Employment Status drop-down to select the patient’s employment status.
Use the Residence Status drop-down to select the patient’s residence status.
Enter the Account Prefix that can be used for tracking or reporting purposes.
Use the Preferred Language drop-down to select the patient’s preferred language.
Use the Other Info field to enter any other info.
Optional: Under Patient Info, enter the patient’s Meaningful Use Info (Demographics).
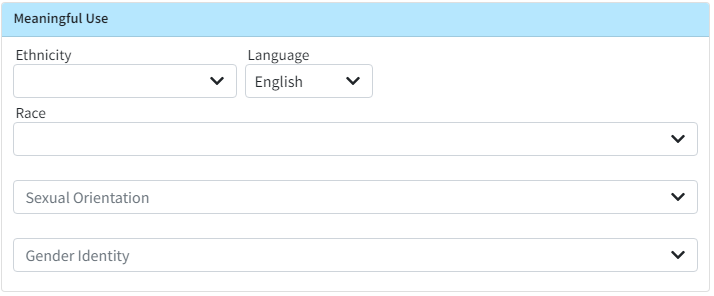
Use the Ethnicity drop-down menu to select the patient’s ethnicity.
Use the Language drop-down menu to select the patient’s language.
Use the Race drop-down menu to select the patient’s race.
- Use the Sexual Orientation drop-down menu to select the patient’s orientation.
Use the Gender Identity drop-down menu to select how the patient identifies.

Want to make the Meaningful Use fields required when adding new patients in order to have a complete patient record? Visit our Patient Settings for Customers Help Article for detailed steps on how to set them as required fields.
Optional: Under Patient Info, enter the patient’s Emergency Contact info.
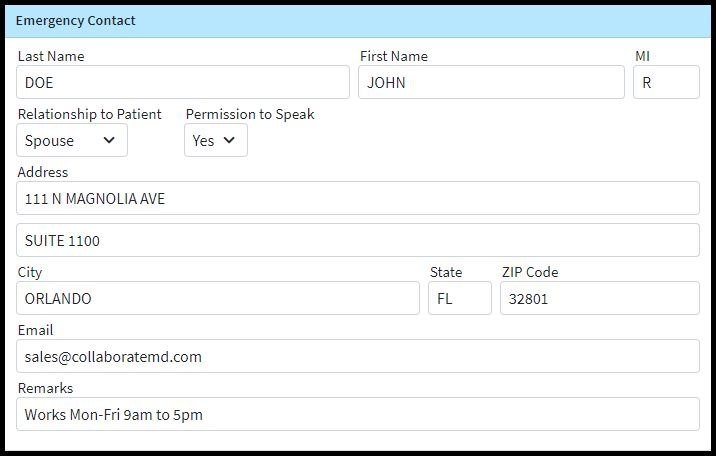
Enter the Last & First Name.
Use the Relationship to Patient drop-down to select the relationship the emergency contact has with the patient.
Use the Permission to Speak drop-down to notate if you should discuss the status of the patient to the emergency contact?
Enter the emergency contact’s Address information.
Enter the emergency contact’s Email.
Add any other notes in the Remarks field.
Optional: Add the patient’s Referral Source.
Use the How did you find us? drop-down menu to select how the patient was referred to your office.
The Patient "Referral Type" field can be added to a custom report to track how patients discover your office.
Click Save.
Once you've entered information under the Patient Info tab, continue creating the patient's account by adding the following information:
Insurance Info: This tab is used to enter the Insured and Other Insured information. In addition, you can use this tab to view the patient's Insurance History, Payers, Authorization, and Employer information.
Billing Info: This tab is used to enter Guarantor, Statement, Collection, and Payment Portal information.
Claim Defaults: This tab is used to enter claim defaults such as Providers, Codes, Illness & Accident Information, Other Claim Defaults, Referring/PCP, and Facility defaults.

 Your profile picture should be a minimum of 512x512 pixels, but no larger than 1024x1024 pixels. Any file recognized as an image (e.g., .gif, jpg, .jpeg, .png) can be uploaded.
 This field is used for reporting purposes.
 At this time, the CollaborateMD application supports International Addresses on Patient records or as the Ambulance Pick-Up Location on claims. If an address is international, it will be sent as such on electronic claims and all statements. International addresses will also be sent on user-printed statements (but not automated statements at this time)
 An indicator will show if the patient has accepted the opt-in message. You can manually re-send the Opt-In message by right-clicking on the warning indicator; otherwise, the Opt-In message will be sent automatically every 60 days until the patient confirms.


