Process a credit card payment within the Scheduler screen.
Select Appointments > Scheduler.
Select the relevant appointment and then click Edit.
- Select the Payment tab.
Optional: Check the Print receipt box to print the patient a receipt.
Enter payment details such as Amount, Date, and Check #.
Set the payment Source to Credit Card.
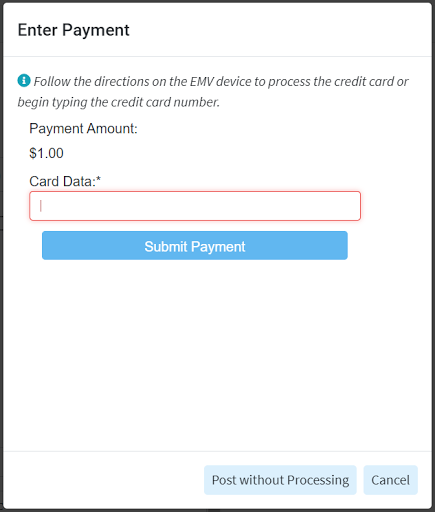
Upon saving the Claim, follow the directions on the EMV device or enter the card information within the Enter Payment Window.

Do you have an EMV device plugged in, but are still seeing the message "EMV devices are now supported"? This means that the EMV standard has not been Set up correctly.
You will need to set up a physical card entry/EMV machine and the EMV software on the computer. This software allows the EMV machine to connect with CollaboratedMD.
Still have questions, or would like to receive an EMV device? Please reach out to the Global Payments Integrated TeamCard Number: Place your cursor in the Card Number field. Swipe the patient’s credit card using your card reader, or manually enter the card number.
Expiration Date: Use the drop-down menus to select the card’s expiration date.
CVV2/CID: Locate the CVV2 or CID number on the card and enter it into the field.
Click Submit Payment.

